Fun Thanksgiving Arts and Crafts for Kids, Keep Kiddos Entertained at Your Event
Hosting a celebration where little guests need something joyful, calm, and tidy to do? This guide brings together Thanksgiving arts and crafts tailored for events and parties—low-mess, easy to run, and quick to clean. Destination Sitters—trusted by families and planners for event childcare—shares practical, age-aware ideas, setup tips, and safety-forward suggestions so children stay happily engaged while the grownups mingle. Learn how to stock a kids’ table, prevent bottlenecks, and turn finished crafts into keepsake decor. Explore more about Destination Sitters at destinationsitters.com.
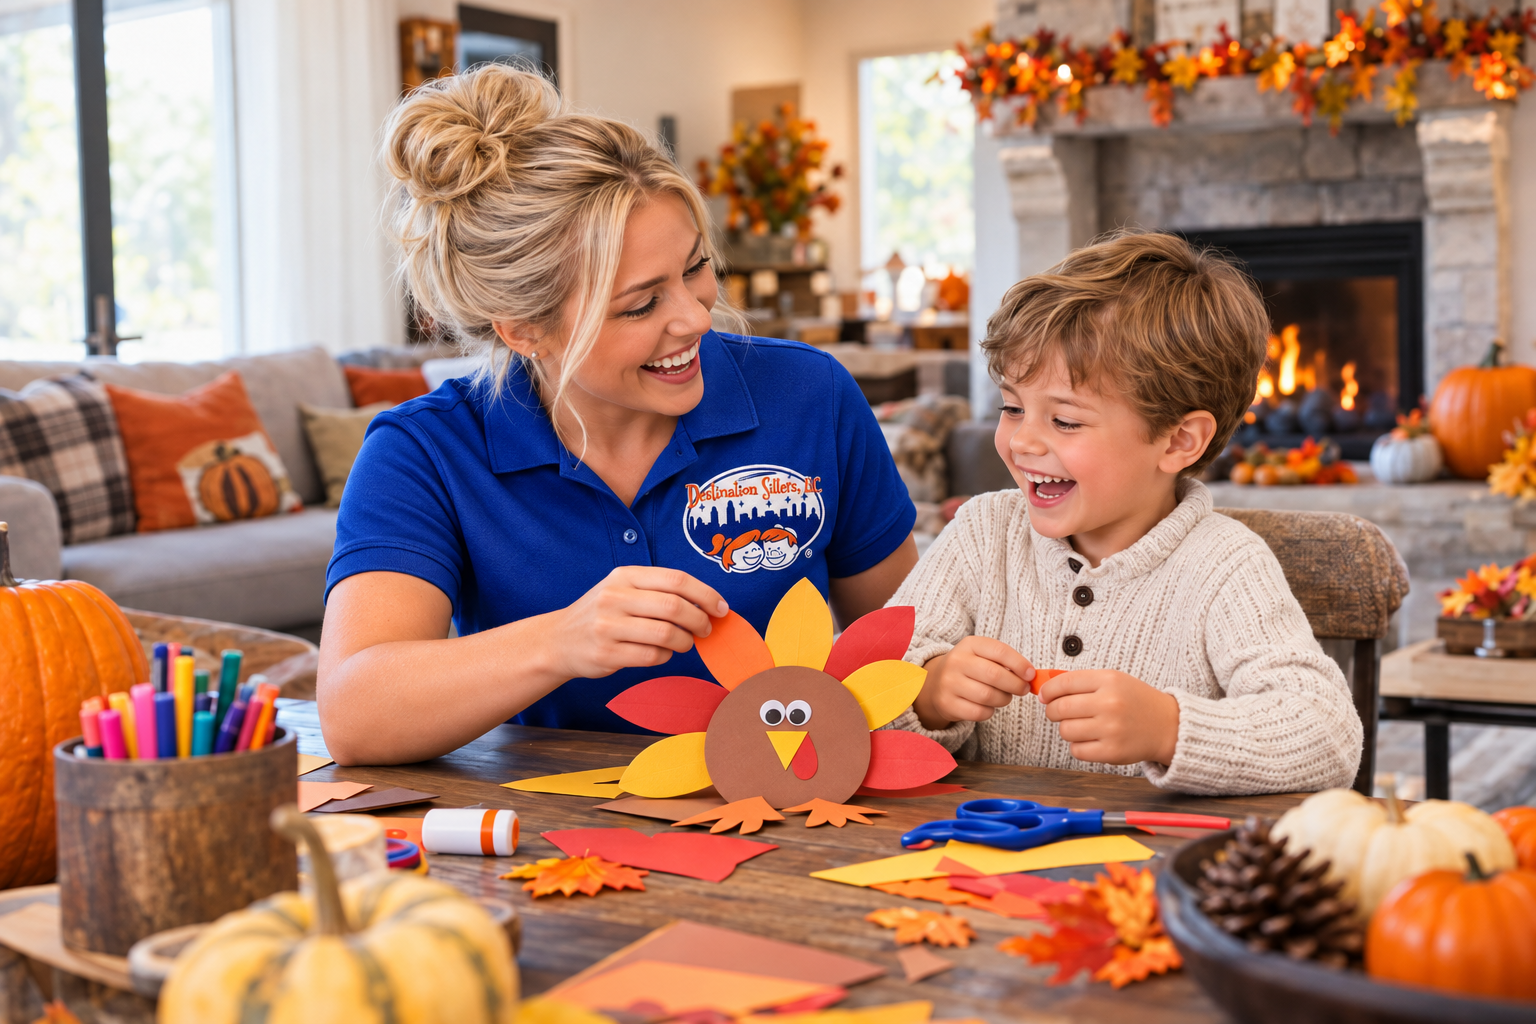
A joyful Thanksgiving craft moment kids and families will remember.
Key takeaways
Fun Thanksgiving Arts and Crafts Kids Can Do at Events (Quick List)
10-second overview of craft ideas
At-a-glance supply checklist
How to Set Up a Calm, Kid-Friendly Craft Corner
Room layout that prevents bottlenecks
Create 3–4 small stations rather than one long table. Place coloring/collage near the entrance for quick wins, then seat painting or small-parts crafts further inside. Keep clear pathways for servers and guests, and use a simple sign-in sheet at the entry with name tags for kids and parents.
Safety-first materials and tools
Choose washable, non-toxic supplies. Separate small parts (beads, googly eyes) to a supervised older-kids station. Use battery tea lights only—no flames. Offer child-safe scissors to older children with close oversight, and provide pre-cut shapes for younger ages to avoid frustration and risk.
Signage, instructions, and a simple handoff
Post clear instructions at each station and age labels such as “Ages 3–5” or “Ages 6+.” Keep a parent contact card or wristband at sign-in and a whiteboard with updates. Encourage caregivers to note any allergies or sensitivities. Pre-portion materials into trays to reduce mess and crowding, and match table heights and seating to the ages you expect.
No-Mess Coloring and Collage Station
Leaf Rubbing Placemats (crayon + paper magic)
Materials: Washable crayons, copy paper or 11×17 kraft sheets, flat faux leaves or real leaves (check sensitivities), painter’s tape.
- Tape a leaf vein-side up to the table and cover with paper.
- Rub the flat side of a crayon over the paper to reveal the leaf pattern.
- Repeat with different leaves and colors.
- Write each child’s name at the top—doubles as a placemat.
Cleanup: Stack flat to dry; store in a labeled tray. Provide wipes for crayon hands.
Gratitude Collage Cards (stickers, washi, paper shapes)
Materials: Pre-cut cardstock cards, sticker sheets, washi tape, non-toxic glue sticks, pre-cut leaf and heart shapes.
- Invite kids to write or dictate something they’re thankful for.
- Layer stickers, tape, and paper shapes around the message.
- Add a name label on the back for take-home.
Cleanup: Use individual trays to keep scraps contained; brushes and liquid glues not required.
Color-Your-Own Place Cards
Materials: Pre-folded place cards, washable markers, seasonal stickers.
- Print names or let older kids write them.
- Decorate borders with markers and stickers.
- Stand on the table for instant decor.
Cleanup: Stack in a shoe-box lid labeled “Place Cards.”
Make-and-Take Mini Centerpieces
Paper Bag Luminaries (battery tea lights only)
Materials: Paper lunch bags, cardstock leaf shapes, tape dots/glue sticks, stickers, battery-operated tea lights.
- Decorate the bag with stickers and leaf shapes.
- Place a battery tea light inside (adults handle switches).
- Write the child’s name at the base.
Age tip: Use peel-and-stick shapes for younger kids; older kids can add simple scissor-cut windows with supervision.
Mini Pumpkin Turkeys (feathers, cardstock, googly eyes)
Materials: Mini pumpkins or paper pumpkins, craft feathers, cardstock beaks/wattles, googly eyes (older kids), tape dots/glue sticks.
- Attach eyes, beak, and wattle to the pumpkin front.
- Fan feathers at the back using tape dots.
- Add a name label under the pumpkin.
Age tip: Swap googly eyes for paper sticker eyes for younger kids to avoid small-part risks.
Faux Leaf Vases (paper cups + leaf wraps)
Materials: Paper cups, faux leaves or printed leaf wraps, washi tape, pre-cut “Thankful for” tags.
- Wrap the cup with leaves and secure with washi.
- Tie or tape on a “Thankful for” tag.
- Fill with paper flowers or pencil “stems.”
Cleanup: All dry materials; no waiting required. Perfect for table placement.
Wearable Thanksgiving Crafts
Thankful Crowns or Headbands
Materials: Pre-cut crown bands, peel-and-stick foam shapes, stickers, markers.
- Fit the band to the child’s head (adult assist).
- Decorate with foam leaves and stickers.
- Write a “thankful for” word across the front.
Beaded Bracelets in Fall Colors
Materials: Elastic cord pre-cut into lengths, large-hole beads sorted by age (larger for younger), tape to anchor one end.
- Tape one cord end to the tray edge to prevent spills.
- String beads in simple patterns of 3–5 colors.
- Tie a double knot (adult assist), trim ends.
Safety cue: Keep small beads at an older-kids table with supervision; use oversized beads for younger children.
Pilgrim or Turkey Photo Props
Materials: Pre-cut hats, beaks, and feather fans; craft sticks; tape dots; stickers.
- Decorate the prop with stickers or markers.
- Tape to a craft stick as a handle.
- Label with the child’s name and date.
Photo idea: Set a mini photo corner near a window for natural light and quick snapshots.
Simple Painting Projects (Supervised, Washable)
Fingerprint Thank-You Trees
Materials: Washable stamp pads or small paint trays, cardstock with pre-printed tree trunks, wipes.
- Press a fingertip into the ink or a tiny dab of paint.
- Dot “leaves” around the branches in fall colors.
- Write a short thank-you note at the bottom.
Potato-Stamp Napkins or Kraft Paper
Materials: Washable paints on plate palettes, cut potato shapes or foam/sponge stamps, plain cloth napkins or kraft roll table runner.
- Dip stamp lightly—use very small amounts of paint to reduce smears.
- Press in patterns: leaves, acorns, or simple turkeys.
- Move to a marked drying zone.
Allergy swap: Use foam or sponge stamps instead of potatoes if sensitivities are a concern.
Q-tip Dot Art Turkeys
Materials: Washable paints on small palettes, Q-tips, pre-printed turkey outlines, aprons/smocks.
- Use Q-tips as mini dotters to fill feathers with color.
- Limit each palette to 3–4 colors to keep it tidy.
- Place finished art on the drying rack with a name label.
Pro tip: Keep baby wipes and damp cloths nearby and designate a clearly marked drying zone.
Quiet-Time Activities for Mixed Ages
Sticker Scene Placemats
Provide large placemats with simple scenes and seasonal sticker sheets. Encourage “library voices,” and set a gentle timer (5–10 minutes) with soft music to center the room.
Thanksgiving Puzzle Hunt (printable cards)
Hide 6–8 riddle or picture cards around the craft area with clear boundaries. Kids collect answers on a clipboard, then trade cards for a sticker. Keep it mellow with staggered starts and a calm music cue
Color-and-Fold Gratitude Booklets
Hand out single-sheet foldable booklets to color and staple or tape. Offer mini staplers or tape at a supervised spot, and seat younger kids with an adult helper. Background instrumentals help everyone settle.
Group Games with a Craft Twist
Pass-the-Feather Gratitude Chain
Children pass a paper feather around the circle; whoever holds it says one thankful word and tapes the feather onto a growing chain. Use a start/stop signal and keep a marked play zone to protect venue traffic.
Color Hunt Bracelets (collect matching stickers)
Give each child a bracelet strip. Call a color; kids find and add a matching sticker to their bracelet. After 5–7 colors, bracelets become keepsakes. Transition back to seated crafts with a gentle chime.
Turkey Tail Relay (attach paper feathers)
Kids take turns attaching paper feathers to a poster turkey using tape dots. Keep runs short, mark lanes, and end with high-fives before returning to chairs.
Cleanup and Take-Home Plan
Fast Drying Rack and Label Station
Set one table as a drying/label hub with markers, name stickers, and a shoe-box lid for each station. Clearly mark “Wet” and “Dry” areas.
Prepped Bins: Trash, Recycle, and ‘Save for Later’
Place labeled bins at kid height so children can help. Keep a small host box for leftover supplies.
Simple Packaging: Paper Bags and Name Tags
Label paper gift sacks or zip bags early in the event. Switch to no-mess activities 30 minutes before wrap-up to speed departures.
Communication and Safety Details Parents Appreciate
Allergy-Aware Substitutions and Material Swaps
Ask families to share allergy and sensitivity notes at sign-in. Avoid latex balloons and nut-based items; when in doubt, use paper or foam leaves instead of real botanicals.
Sign-In/Out, Wristbands, and Contact Cards
Keep a simple sign-in/out with emergency contacts and any bedtime or routine details. Wristbands or name tags help staff connect children to adults quickly at pickup.
Quick Updates: Photo Check-Ins or Whiteboard Notes
A small whiteboard with activity updates (“Painting now, drying next”) or occasional photo check-ins (if hosts allow) helps parents relax and enjoy the event.
Why families choose Destination Sitters
Destination Sitters helps families and planners arrange babysitting, wedding childcare, event childcare, and even pet sitting. Coordinators align activity plans with event timelines, set up calm, age-aware stations, and support clear parent handoffs with contact details and simple updates. For event childcare ideas and coordination, explore event childcare and related services on our site.
Quick Checklists for Planners and Parents
Next Steps
Your Content Ready to make your kids’ table calm, creative, and event-friendly? Explore our event childcare services, browse reviews, or start a request via booking or contact us. Coordinators can help you match activities to space, timeline, and guest ages.Here
Conclusion
With a few thoughtful choices—pre-cut pieces, washable supplies, and well-marked stations—Thanksgiving crafts can delight kids without stressing hosts. Whether your celebration is an intimate family gathering or a formal event, adapt project sizes and timings to the venue, add clear signage, and plan a tidy handoff. When families and planners want calm, kid-friendly activities that blend with decor and schedules, Destination Sitters offers practical coordination and ideas that help everyone enjoy the day.
FAQs
What are the best low-mess Thanksgiving crafts for a carpeted venue?
Stick to crayons, stickers, glue sticks, and pre-cut paper shapes. Skip loose glitter and confetti; use glitter glue or metallic stickers instead.
How many crafts should I plan per child at a party?
Plan a few quick wins—often 2–3 small projects per hour—plus one quiet coloring or sticker activity for transitions.
How do I handle mixed ages safely at the craft table?
Separate small parts for older kids, provide larger pieces for younger ones, and clearly label station age ranges. Keep scissors and beads at a supervised table.
What allergy considerations should I keep in mind for kids’ crafts?
Ask parents for allergy details at sign-in, avoid latex balloons and nut-based items, and consider swaps like foam leaves instead of real ones if sensitivities are a concern.
Can these crafts work at weddings or formal events?
Yes—choose neutral palettes, battery tea lights, and compact stations. Post clear instructions and keep a tidy drying rack to blend with formal decor.
What’s the easiest way to speed up cleanup at the end?
Switch to no-mess activities 30 minutes before wrap-up, label take-home bags early, and set out kid-height trash/recycle bins.
Share This Article!
About the Author: Yvonne Wonder